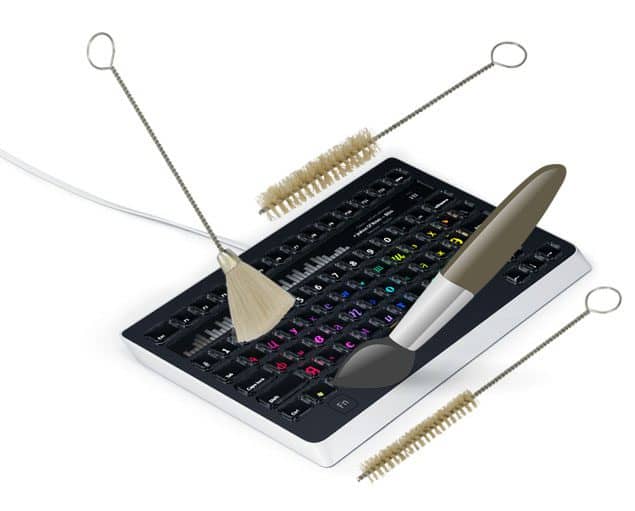
Computer Keyboard is infamous for harboring germs. It is said that a typical keyboard is more unhygienic than a toilet seat.
The reason for this is that most people eat and drink while they type, their sticky hands create a breeding ground for bacteria and other germs.

Cleaning your keyboard every other week is good practice. This post will guide you through the process – It only takes a few minutes to clean and sterilize your keyboard.
Step-By-Step Guide To Clean Computer Keyboard
1) Unplug your computer from the electricity socket. This is a safety measure.
2) Assemble your cleaning tools:
- Lint free cloth or an old cotton T-shirt can also do the trick.
- Can of compressed air or a USB vacuum cleaner or even a hair dryer does the same trick.
- Water or Isopropyl alcohol.
- Cotton buds
3) Use the compressed air, vacuum cleaner or hair dryer to remove any crumbs stuck between the keys or underneath the keys. Keep the hair dryer on cool air rather than hot to prevent damage to the plastic covering of the keyboard.
4) Wet your cloth or T-shirt in water or isopropyl alcohol. Do not put so much that the cloth drips, it should still be dry, with just a bit of wetness. Never put any liquid directly on the keyboard. The liquid will sink into the electrical circuits.
5) Use gentle motions when dealing with your keyboard. The labels on the keys have a tendency to erase when rubbed aggressively.
6) If there are any areas that still have grime and dirt on it, dab a cotton bud and gently scrub those areas. The edges of the keys and curves edges on the keyboard usually require this technique.
7) After you are satisfied with your cleaning effort, use the hair dryer to dry the keyboard. This method is the quickest and safest and can be used on all types of keyboards.
8) If you drink and eat regularly by your desk, try covering your keyboard in a plastic film. These can be bought inexpensively at stationary shops. You can replace the films whenever it’s needed (Make sure you take your keyboard or laptop with you to buy the right size of film).
9) If your keyboard requires an even aggressive cleaning regime, remove all the keys in a cloth bag or sock and put it in the washing machine. Meanwhile clean the casing of the keyboard with the lint cloth dabbed with water.
Use a screw driver or a butter knife to pry the keys loose. Leave the space key since it is the most difficult to remove and re-install.
10) Do not try to remove the keys from laptops. You will damage the delicate circuitry.
11) Always take a picture of your keyboard before removing to know where the keys go – it’ll also show you what a great job you’ve done when it’s nice and clean again.
 Tricks Window Technology Zone – Complete Technology Package for Technology News, Web Tricks, Blogging Tricks, SEO, Hacks, Network, Mobile Tricks, Android, Smartphones etc.


